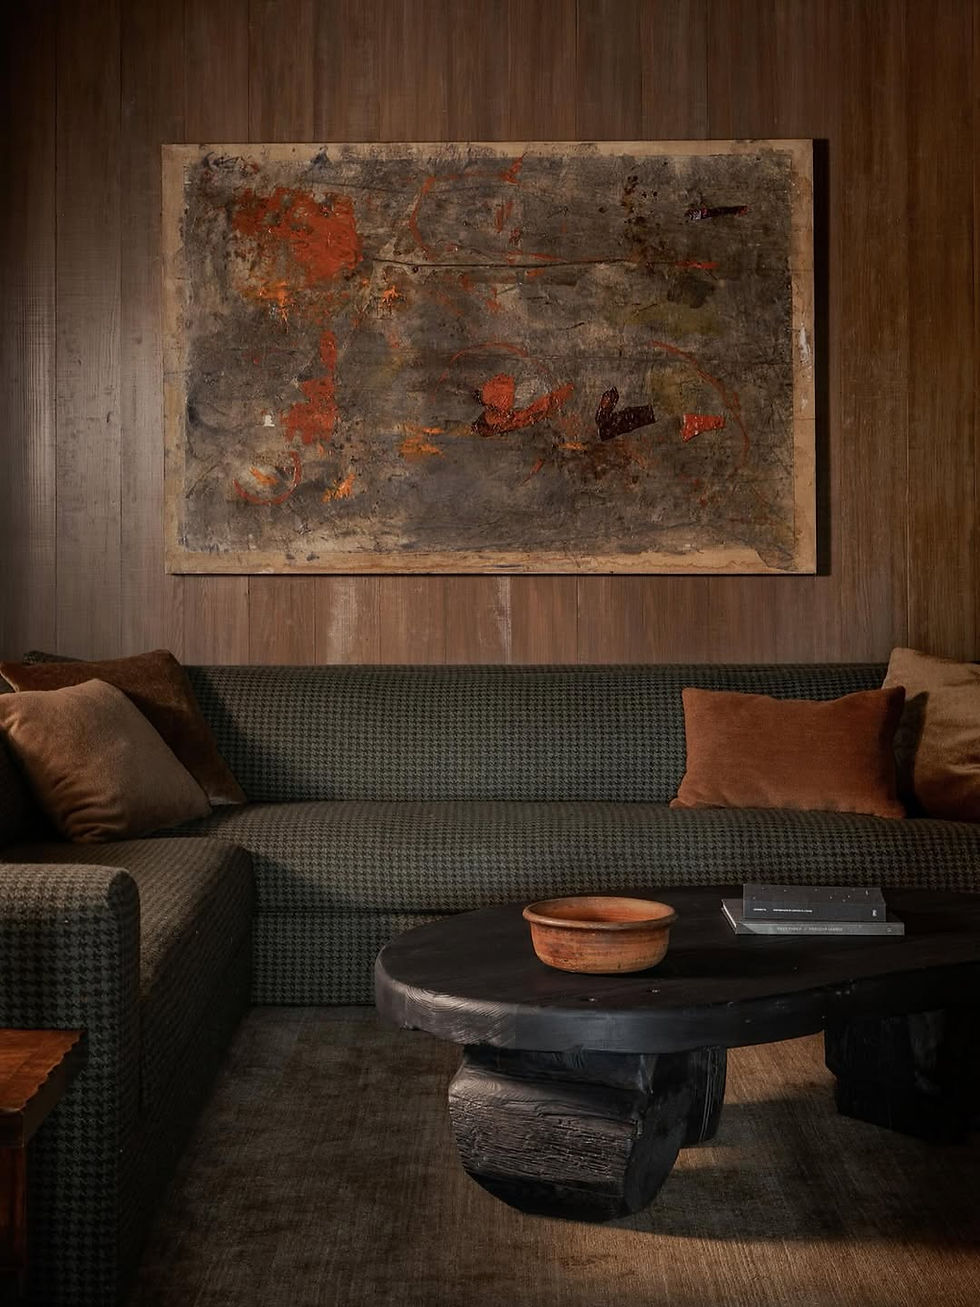
What You Should Know When Working With a Photographer
- Anastasia Casey

- Mar 15, 2023
- 3 min read
Updated: Sep 11, 2025
Picture this: you find a wonderful, talented photographer to shoot images for your portfolio (remember, it’s best to stick with one photographer if possible for consistent images). The only issue is, the photographer you are working with doesn’t have a ton of experience shooting interiors OR at least not in the style you’re looking for. We’ve put together a set of guidelines for you to work from as you collaborate with your photographer. These are the principles we use in our own photoshoots.
Create a Shot List
You’ll want a variety of image types to have on hand for your website, social media, and future publishing. This checklist is a good place to start:
horizontal full room
vertical full room
details
half room views
angled context views
products
straight on of all vignettes
Above all, make sure you have plenty of straight on, vertical images of each room. We’ve found these perform best.

Interior Design: Britt Design Studio, Photography: Raquell Angworthy
Follow Best Practices
There are a few tried-and-true techniques that are important for the perfect portfolio shots.
Turn all lights off.
Always stick to natural lighting through the windows or studio lighting if needed. When in doubt, just remember that the goal is for the image to be as true to life as possible.
Shoot straight on.
Angles are great for giving images of spaces context, but nothing performs better than a straight on shot. When you’re shooting a space, be sure that you have a solid image of it shot from directly ahead. Use a grid to make sure wall lines and floors are straight. Shooting from waist height will give you the best shot.
Utilize a tripod.
If you want those bright, crisp photos you love to see on Instagram and Pinterest, you need a tripod. A tripod gives you the ability to keep your ISO down and your aperture higher than if you were using a handheld camera. You will find a tripod especially useful if your room is interior facing or doesn’t have a quality source of natural light.
Remove the tags and cords.
This real-life stuff is fine to have around, but in an image, it’s distracting. If it isn’t possible to fully remove them, try styling products to cover them or condensing them all in one spot so it is easier to edit them out in post.

Interior Design: Kelsey Leigh Design Co, Photography: Emily Hart
Swap things around.
Play around by rearranging pieces and props during the shoot until you get it just right.
Opt For Detail Shots
Detail shots are different from product shots in that they aren’t zoomed in on one specific object. They’re are a bit more pulled back, showing how that object interacts with the room as a whole. Shots of details always perform best when there is context around them to show how they are styled within the space.
Use Angles For Context
While angle shots should not be the focus, they are welcome filler for your gallery. When shooting at angles, the key is to show the room in context. Show the room as its seen when coming from another room or in a way that gives you a glimpse of the full setup. All lines should still be straight and sharp.
The most essential component of any successful interiors shoot is preparation. If we had to sum up this little guide, we’d say the secret formula is having a shot list on hand, confirming your photographer has a tripod to bring, choosing + using the right styling props to change up the images, remembering to turn off the lights + tuck away the junk, and prepping your photographer for the kind of photos you’re looking for. We hope this guide is helpful as you showcase your spaces with gorgeous images worthy of your hard work.


